Develop Mini Blog with Directus - Part 6
directus | 2024-10-25
Pre-requisite
- Basic understanding about Directus and NextJS
Mini Blog Series
Building Listing and Detail Screen in NextJSThe Finishing
Make reusable function
We here create a reusable helper - connector.
export async function graphBlogs() {
  return await client.query<Schema>(`
      query Blogs {
          blog {
              id
              status
              title
              type
              slug
              image
              external
              published
              start
              end
              content
          }
      }
    `);
}

export async function graphBlog(slug: string) {
  return await client.query<Blog[]>(`
      query Blog {
          blog(filter: {
            status: { _eq: "published" }
            slug: { _eq: "${slug}" }
            external: { _null: true }
          }) {
              id
              status
              title
              type
              slug
              image
              external
              published
              start
              end
              content
          }
      }
    `);
}

const clientJson = createDirectus<Schema>(DIRECTUS_URL)
  .with(staticToken(process.env.DIRECTUS_TOKEN || ''))
  .with(rest());

export async function restBlogs() {
  return await clientJson.request<Blog>(readItems('blog'));
}

export async function restBlog(slug: string) {
  const result = await clientJson.request<Blog[]>(readItems('blog', {
    limit: 1,
    filter: {
      _and: [
        { "status": { "_eq": "published" } },
        { "external": { "_null": true } },
        { "slug": { "_eq": slug } }
      ]
    }
  }));

  return result.length > 0 ? result[0] : null;
}
In code above, we are using readItems() for detail item, because the readItem() method only accept id as filtering.
Besides using slug as filter key, we also put in status and external for filtering purpose.
Listing Page
For listing page, as our code didnt filter out non-published version, we are going to do it after queried, directly using plain javascript.
import { graphBlogs, restBlogs } from '@/helper/connector';

export default async function Home() {
  const result = await graphBlogs();
  // const result2 = await restBlogs();
  // console.log(result2);
  const { blog } = result;
  return (
    <div className="container my-3">
      <h1>Mini Blog App</h1>
      <div className="row my-5">
        {
          blog && blog.filter(x => x.status === 'published').map(y => {
            return (
              <></>
            )
          })
        }
      </div>
    </div>
  );
}
Detail Page
For detail page, we will adopt NextJS dynamic routes, therefore we are using [slug].
Then we will need to ensure the props and type are specify.
import { graphBlog, restBlog } from "@/helper/connector";

type Props = {
  params: {
    slug: string
  }
}

export default async function Blog({ params }: Props) {
  const { slug } = await params;
  const blog = await restBlog(slug);
  // const blog = await graphBlog(slug);
  // const blog = result[0];

  return ( <></> )
}
Styling
Let make sure the site adopt some styling, here we use boostrap
npm install bootstrap
Then add import to layout.tsx
import "bootstrap/dist/css/bootstrap.min.css"
The rest of pages, we can add bootstrap CSS class name.
Finally
The screens look like below:
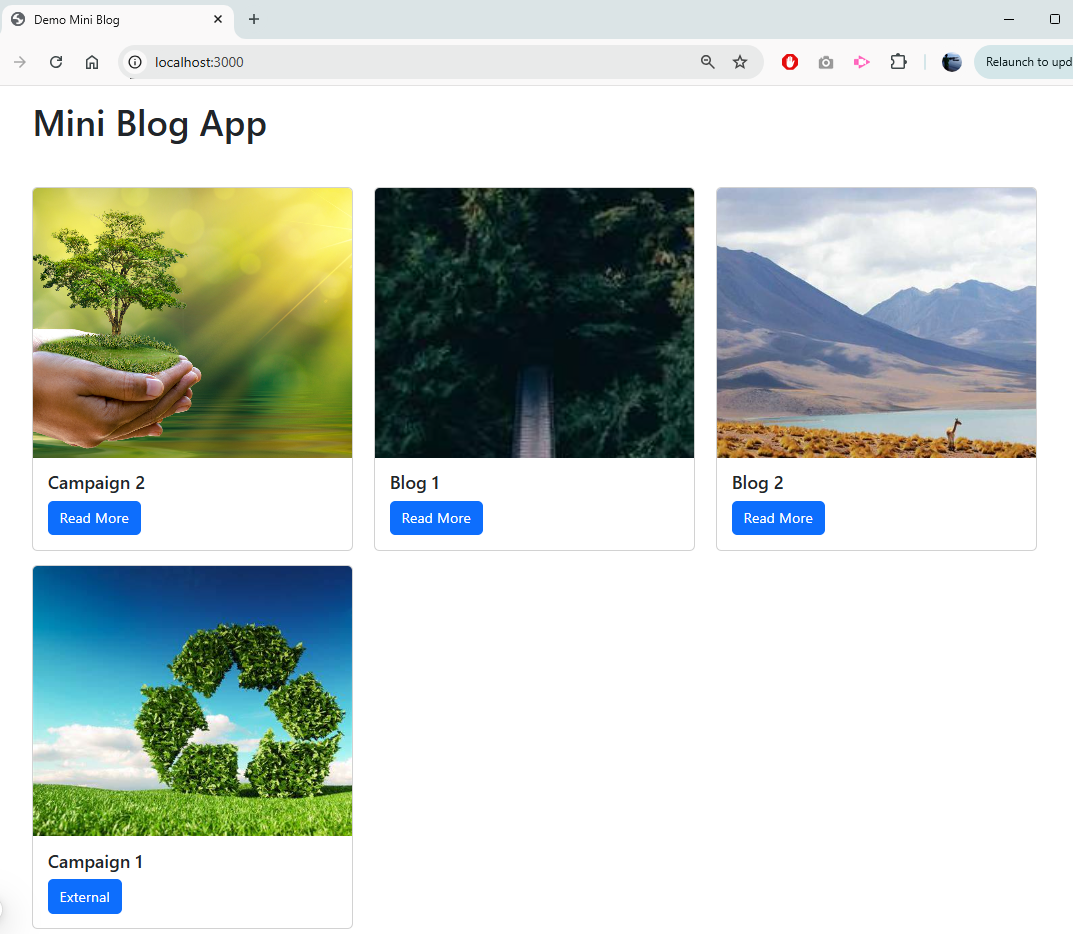
Listing Page
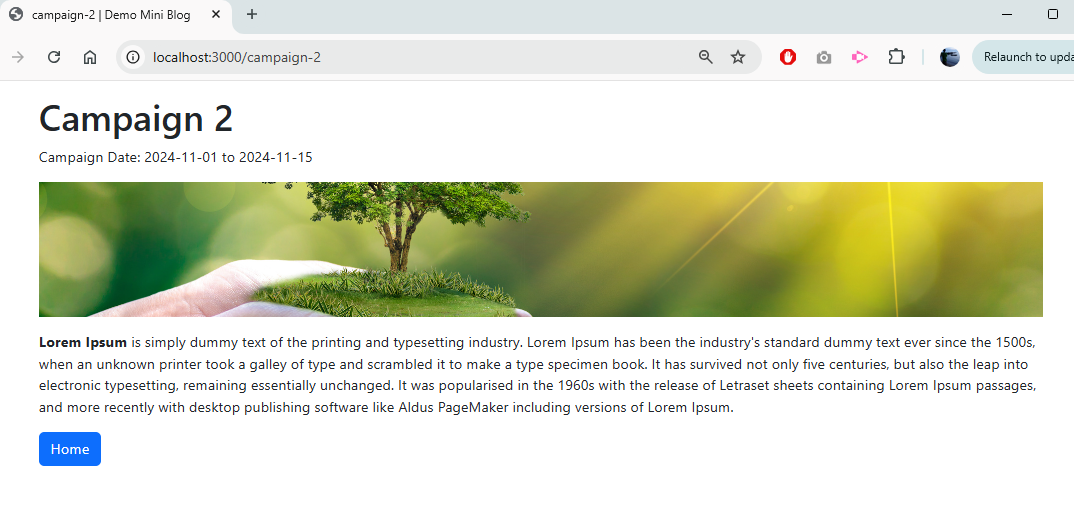
Detail Page
Sample code is uploaded to Haw Jeh | MiniBlog Directus NextJS